Have you ever jumped down a rabbit hole…following a thread of an idea that leads to an obsessive hunt for more and more information? Certainly easy enough to do with no shortage of portals on the internet. I had a number of posts cropping up in my Instagram feed from quilters…and not your granny type quilters…but more contemporary artisans with hip designs and seamstress goddesses who knew a few tricks to make the process less tedious.
I have no shortage of scraps left over from making 100+ Artist Tote Bags (don’t miss the update on those totes at the end of this post!). So when I saw a method for quickly and easily using up straight scraps to make quilt squares, I jumped right in.
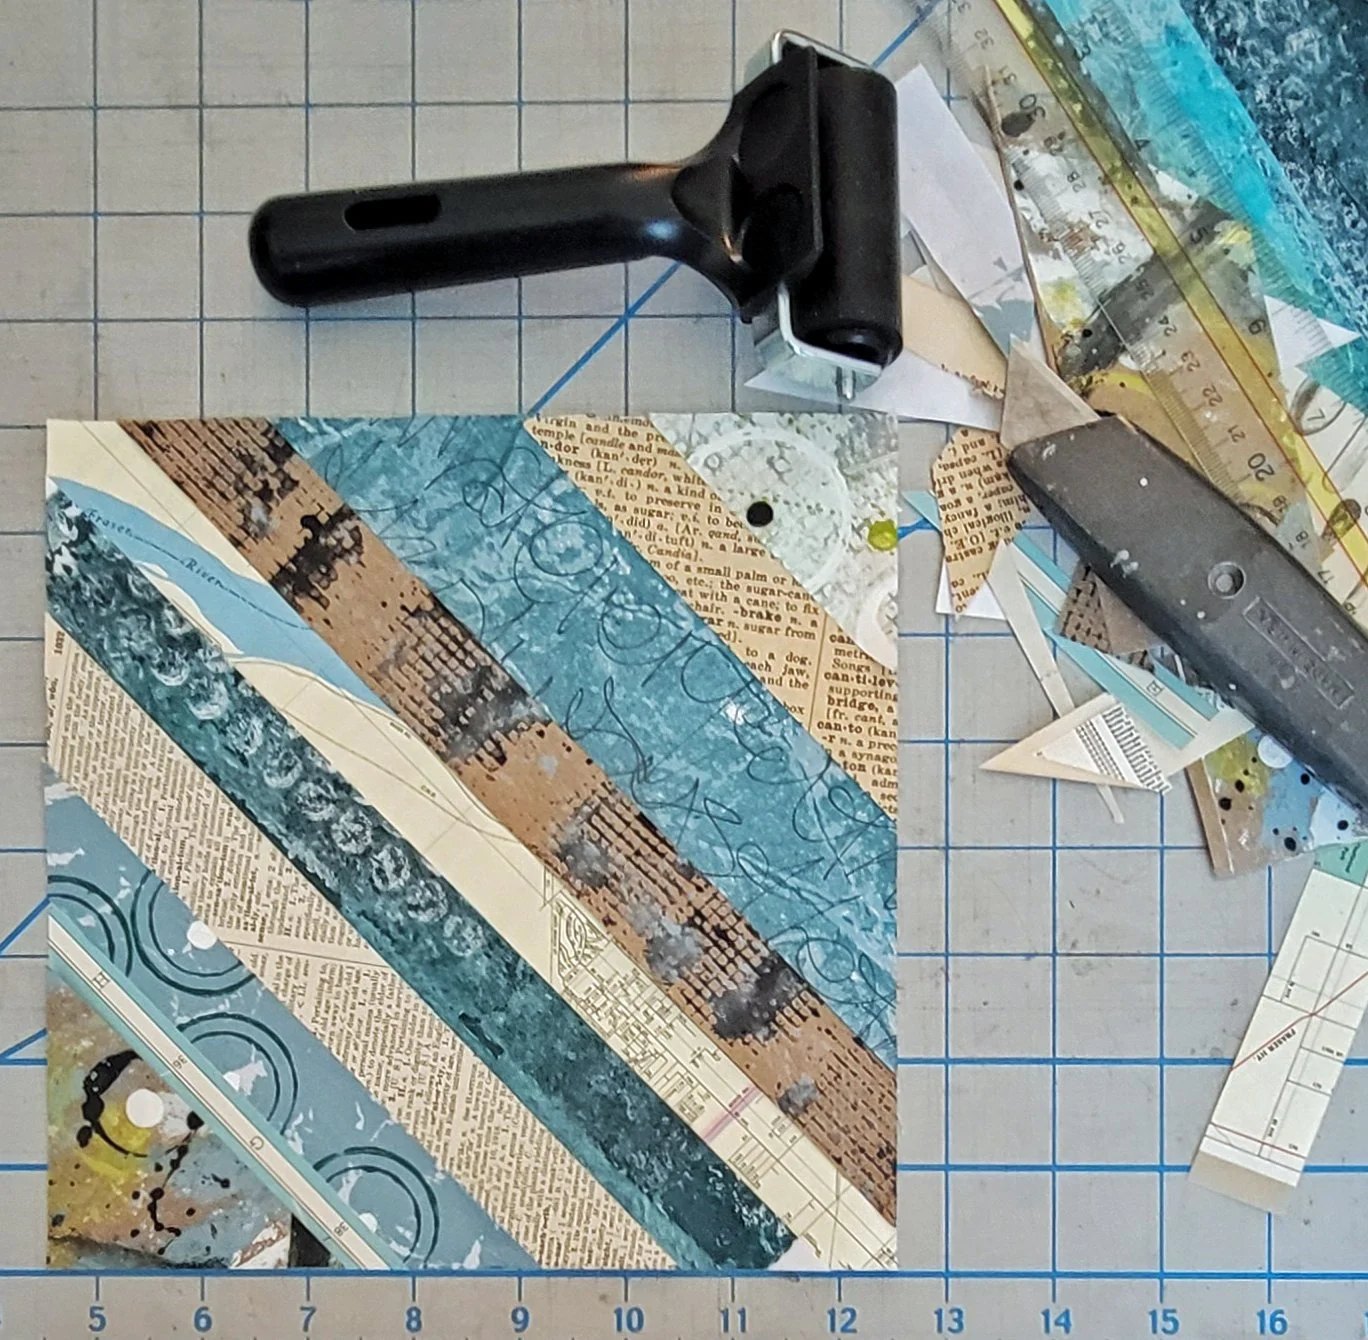
I made one square with fabric - it was fast and easy to construct…but I immediately thought…why couldn’t I do this with paper scraps, with just a few tweaks…
Without a large house with accompanying yard and garden and no rental house/landlord responsibilities, I now have plenty of time to investigate new ideas. I have been exploring all matter of reusing/rescuing/upcycling paper scraps/ephemera/vintage materials for decades…so why not use paper instead of fabric to make a quilt…
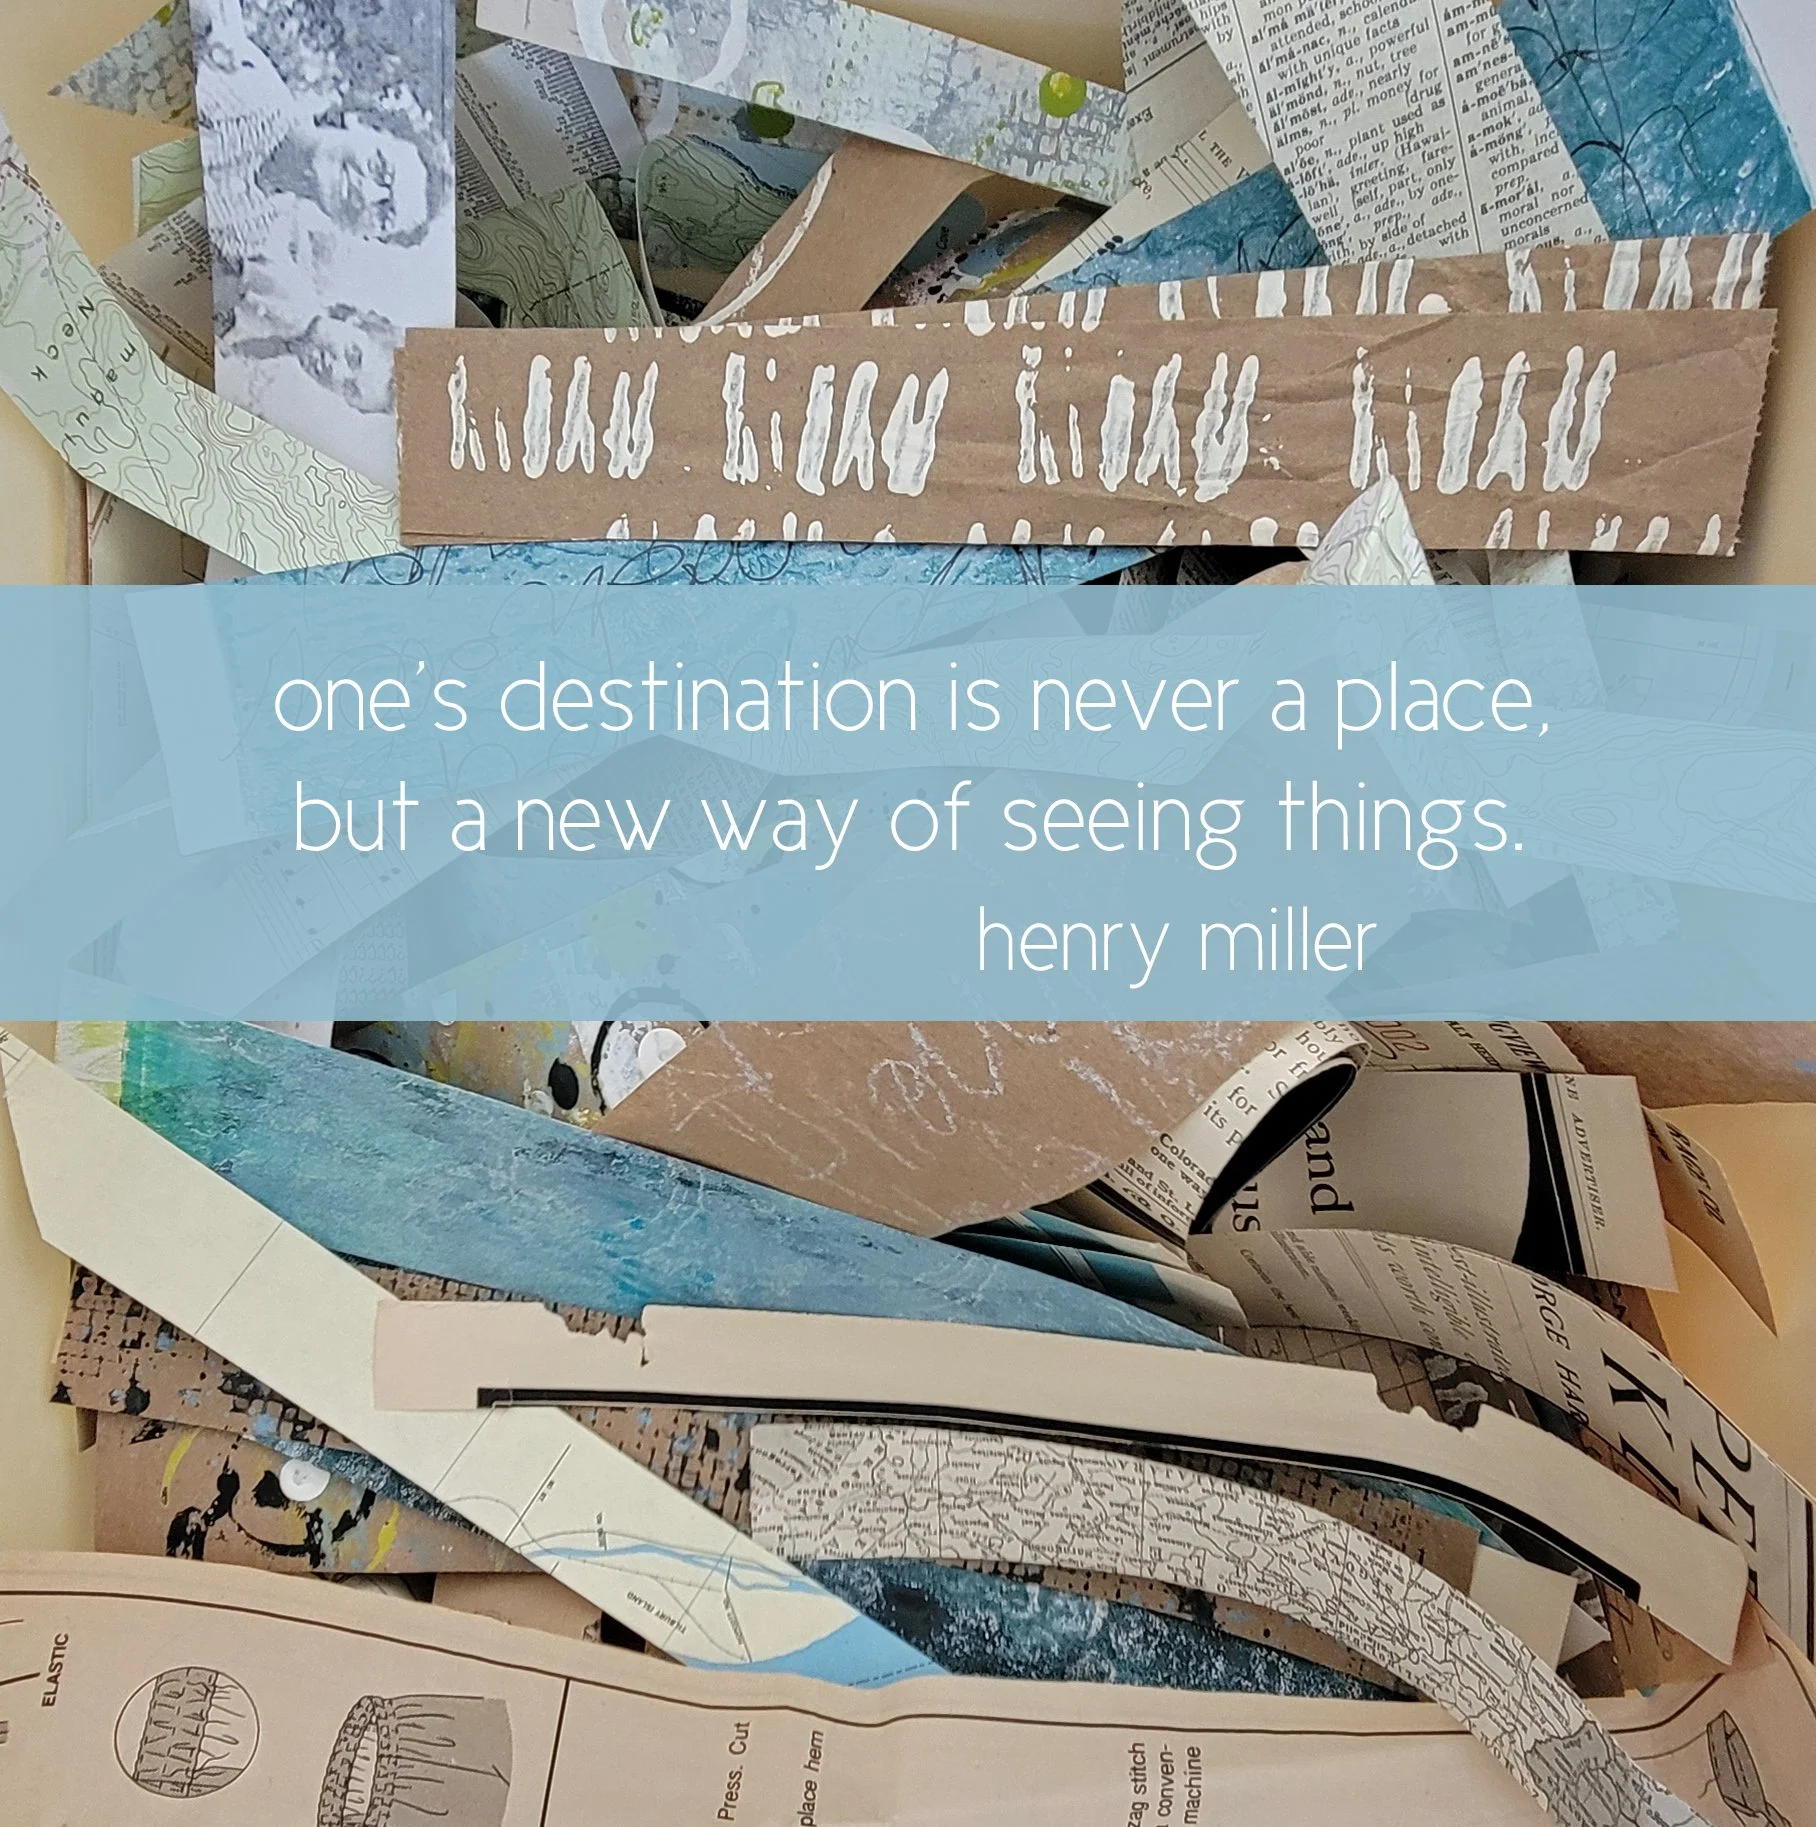
I’ve also been experimenting with gelli printing to produce my own collage papers. I want to focus on using my own collage papers and original vintage paper ephemera scraps whenever I create. I went into production mode…
I spent a day printing additional collage papers - both on the gelli plate and also using mark-making techniques…I’m still getting the hang of gelli printing…but when you cut up your less-than-perfect sheets or doodle on top, it all looks good!
After I had an ample selection of collage papers, I rummaged through my bins and pulled out several vintage pages…with both papers and pages, I cut everything into strips of 1/2” to 2” width for a variety of sizes.
Using the tutorial I found on Instagram, I laid out my first square with papers (not fabric). After I trimmed the edges, I was hooked! I loved the combo of old with newly created…I did not fold over the paper strips (like the fabric strips in the tutorial) but I did eventually stitch down the edges of the paper strips on my sewing machine.
After I had completed several squares, I laid them out in a traditional quilt pattern.
I like the play of the different patterns and textures…and the fact that not everything lines up exactly…that extra wonkiness gives it that handmade vibe.
So now I’m wondering…what next…essentially make a full size paper quilt? Or a large size collage…and what about the mechanics of putting it together and hanging it?
I’m in no rush…I’m thrilled to find something new to capture my inspiration and play with another idea of creating with paper.
With the reality of needing more room (in my already too cozy new studio space!) I am slashing prices on my Artist Tote Bags over in my Etsy shop to give myself a little breathing space. Each of my totes are one of a kind, sewn by me, with an embellished pocket - perfect for a Mother’s Day gift or a springtime treat for yourself!
Tote Bags are marked down 40% off and will remain on sale through the month of April or until sold out.


